Today we're going to learn how to deploy a smart contract to the Koinos blockchain. We won't be writing any code, so if you don't have a compiled Koinos smart contract ready to deploy, I invite you to check my previous blog where we learned how to "Create your first Koinos smart contract in minutes".
Like most other blockchains, Koinos has a testnet available (the current one is called Harbinger), so we're going to use it to create a test account, top it up with some tKoin, which is the native test token of the blockchain, and deploy our smart contract.
Koinos CLI installation
The Koinos team provides a CLI that will help you manage your keys/wallets and also will allow you to interact with smart contracts. The official repository is hosted at github.com/koinos/koinos-cli.
First, let's download the CLI that's compatible with our Operating System (OS), to do that:
simply head over to the release page of the Github repo github.com/koinos/koinos-cli/releases
download the
.zipfile that's compatible with your system, in my case, it is the zip file called koinos-cli.v1.0.0.mac.x64.ziponce downloaded, extract the content of the zip file and you should end up with an executable file called:
koinos-clifor Linux and MacOS userskoinos-cli.exefor Windows users
That's all for the installation, now, let's start it to make sure it's working properly. Open a terminal/command window where the above executable file is located and type:
./koinos-cli -v
If you're getting a permission error like:
➜  tutorial ./koinos-cli
zsh: permission denied: ./koinos-cli
try to run this command first, and then run the first command again:
chmod a+x koinos-cli
If the CLI is correctly installed and ready to used you should see something like this in your terminal:
➜  tutorial ./koinos-cli -v
open .env: no such file or directory
v0.3.1
Generate a wallet
To interact with the Koinos blockchain we need to have a wallet. To create one, simply type the following commands:
start the CLI
./koinos-cli
and then use the create command
create my.wallet azerty
where:
createis the command used to create a new walletmy.walletis the name of the wallet that you want to create, it can be anything you wantazertyin this case is the password for my wallet, this password is used to encrypt your wallet file on your computer. (The wallet file contains the private key of the wallet)
You should see something like this printing in your terminal:
🚫 🔐 > create my.wallet azerty
Created and opened new wallet: my.wallet
Address: 14JP7iJP1CtGvGhgczMwBE7i9igsKvNdK4
the Address 14JP7iJP1CtGvGhgczMwBE7i9igsKvNdK4 is what's also called the public key of your wallet. (but yours will be different)
Get some tKoin from the Discord faucet
Now that we have generated a wallet, let's top it up with some tKoin! To do that you'll need to have a Discord account. If you don't have one, you can easily create one at https://discord.com/register
Once you have your Discord account setup, koin the Koinos Discord server by clicking on the following link: https://discord.gg/gMGMADsmfk
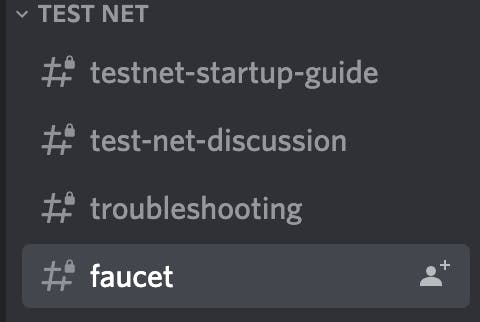
You might be asked to introduce yourself or go through some anti-bot verification. Once the verification is completed, you should be able to have access to the Koinos Discord channels, and there's one channel in particular that we're going to use, it's called faucet and it's located in the Developers category:

Just join this channel and type the following command:
!faucet 14JP7iJP1CtGvGhgczMwBE7i9igsKvNdK4
where 14JP7iJP1CtGvGhgczMwBE7i9igsKvNdK4 is the address of the wallet we just generated (so yours will be different)
The Koinos Testnet Faucet bot should reply in a few seconds with a message stating that 100 tKoin were just sent to the address you provided:

Now, let's wait a few seconds and let's go back to our terminal where our koinos-cli and our wallet is open. Then type the following command:
connect https://harbinger-api.koinos.io
should output:
🔓 > connect https://harbinger-api.koinos.io
Connected to endpoint https://harbinger-api.koinos.io
This command will connect the CLI to a Koinos RPC node, in this case, it's the Koinos Group node. Then type:
balance
This should output the following in your terminal:
🔓 > balance
100 tKOIN
100 mana
If not, just wait a couple of minutes, transactions don't get processed instantaneously so it might take some time before it will show the correct balance.
Alright, we're now all set to deploy our contract!
Deploy the smart contract
Once you have some tKoin available, you can just type the following command to upload your smart contract onto the blockchain:
upload myawesomecontract/build/release/contract.wasm myawesomecontract/abi/myawesomecontract.abi
where:
uploadis the name of the command to upload a smart contractmyawesomecontract/build/release/contract.wasmis the path to you smart contracts's WASM filemyawesomecontract/abi/myawesomecontract.abiis the path to you smart contracts's ABI file
Uploading the ABI file is not mandatory although highly encouraged if you plan on distributing your smart contract as this will allow users to interact with your contract in seconds!
This command should output a transaction id as well as the Mana used to upload the contract:
🔓 > upload myawesomecontract/build/release/contract.wasm myawesomecontract/abi/myawesomecontract.abi
Contract uploaded with address 14JP7iJP1CtGvGhgczMwBE7i9igsKvNdK4
Transaction with ID 0x122096042fb2e2c085eb4e78cb80a4933e6cda21ebf65722e2c0f283f39a9ba40f2a containing 1 operations submitted.
Mana cost: 0.38643078 (Disk: 16472, Network: 17562, Compute: 177948)
A very important note here, the wallet/address you use to upload a contract will be the address of the contract itself. This means that the address14JP7iJP1CtGvGhgczMwBE7i9igsKvNdK4 is the address of the wallet we created earlier, but it's also the address of our contract now. Smart contracts are just users in Koinos. Also, right now, the block size limit on the Koinos blockchain is set to 200kb which means that your contract's WASM files cannot exceed this size. (if it does, you'll probably have to rethink the architecture of your contract by splitting the logic into several smaller contracts)
As you can see, the upload cost us 0.38643078 Mana, which means we didn't spend any actual tKoin, which also means that we uploaded the contract for free!!!! (since Mana is a property of tKoin that regenerates overtime)
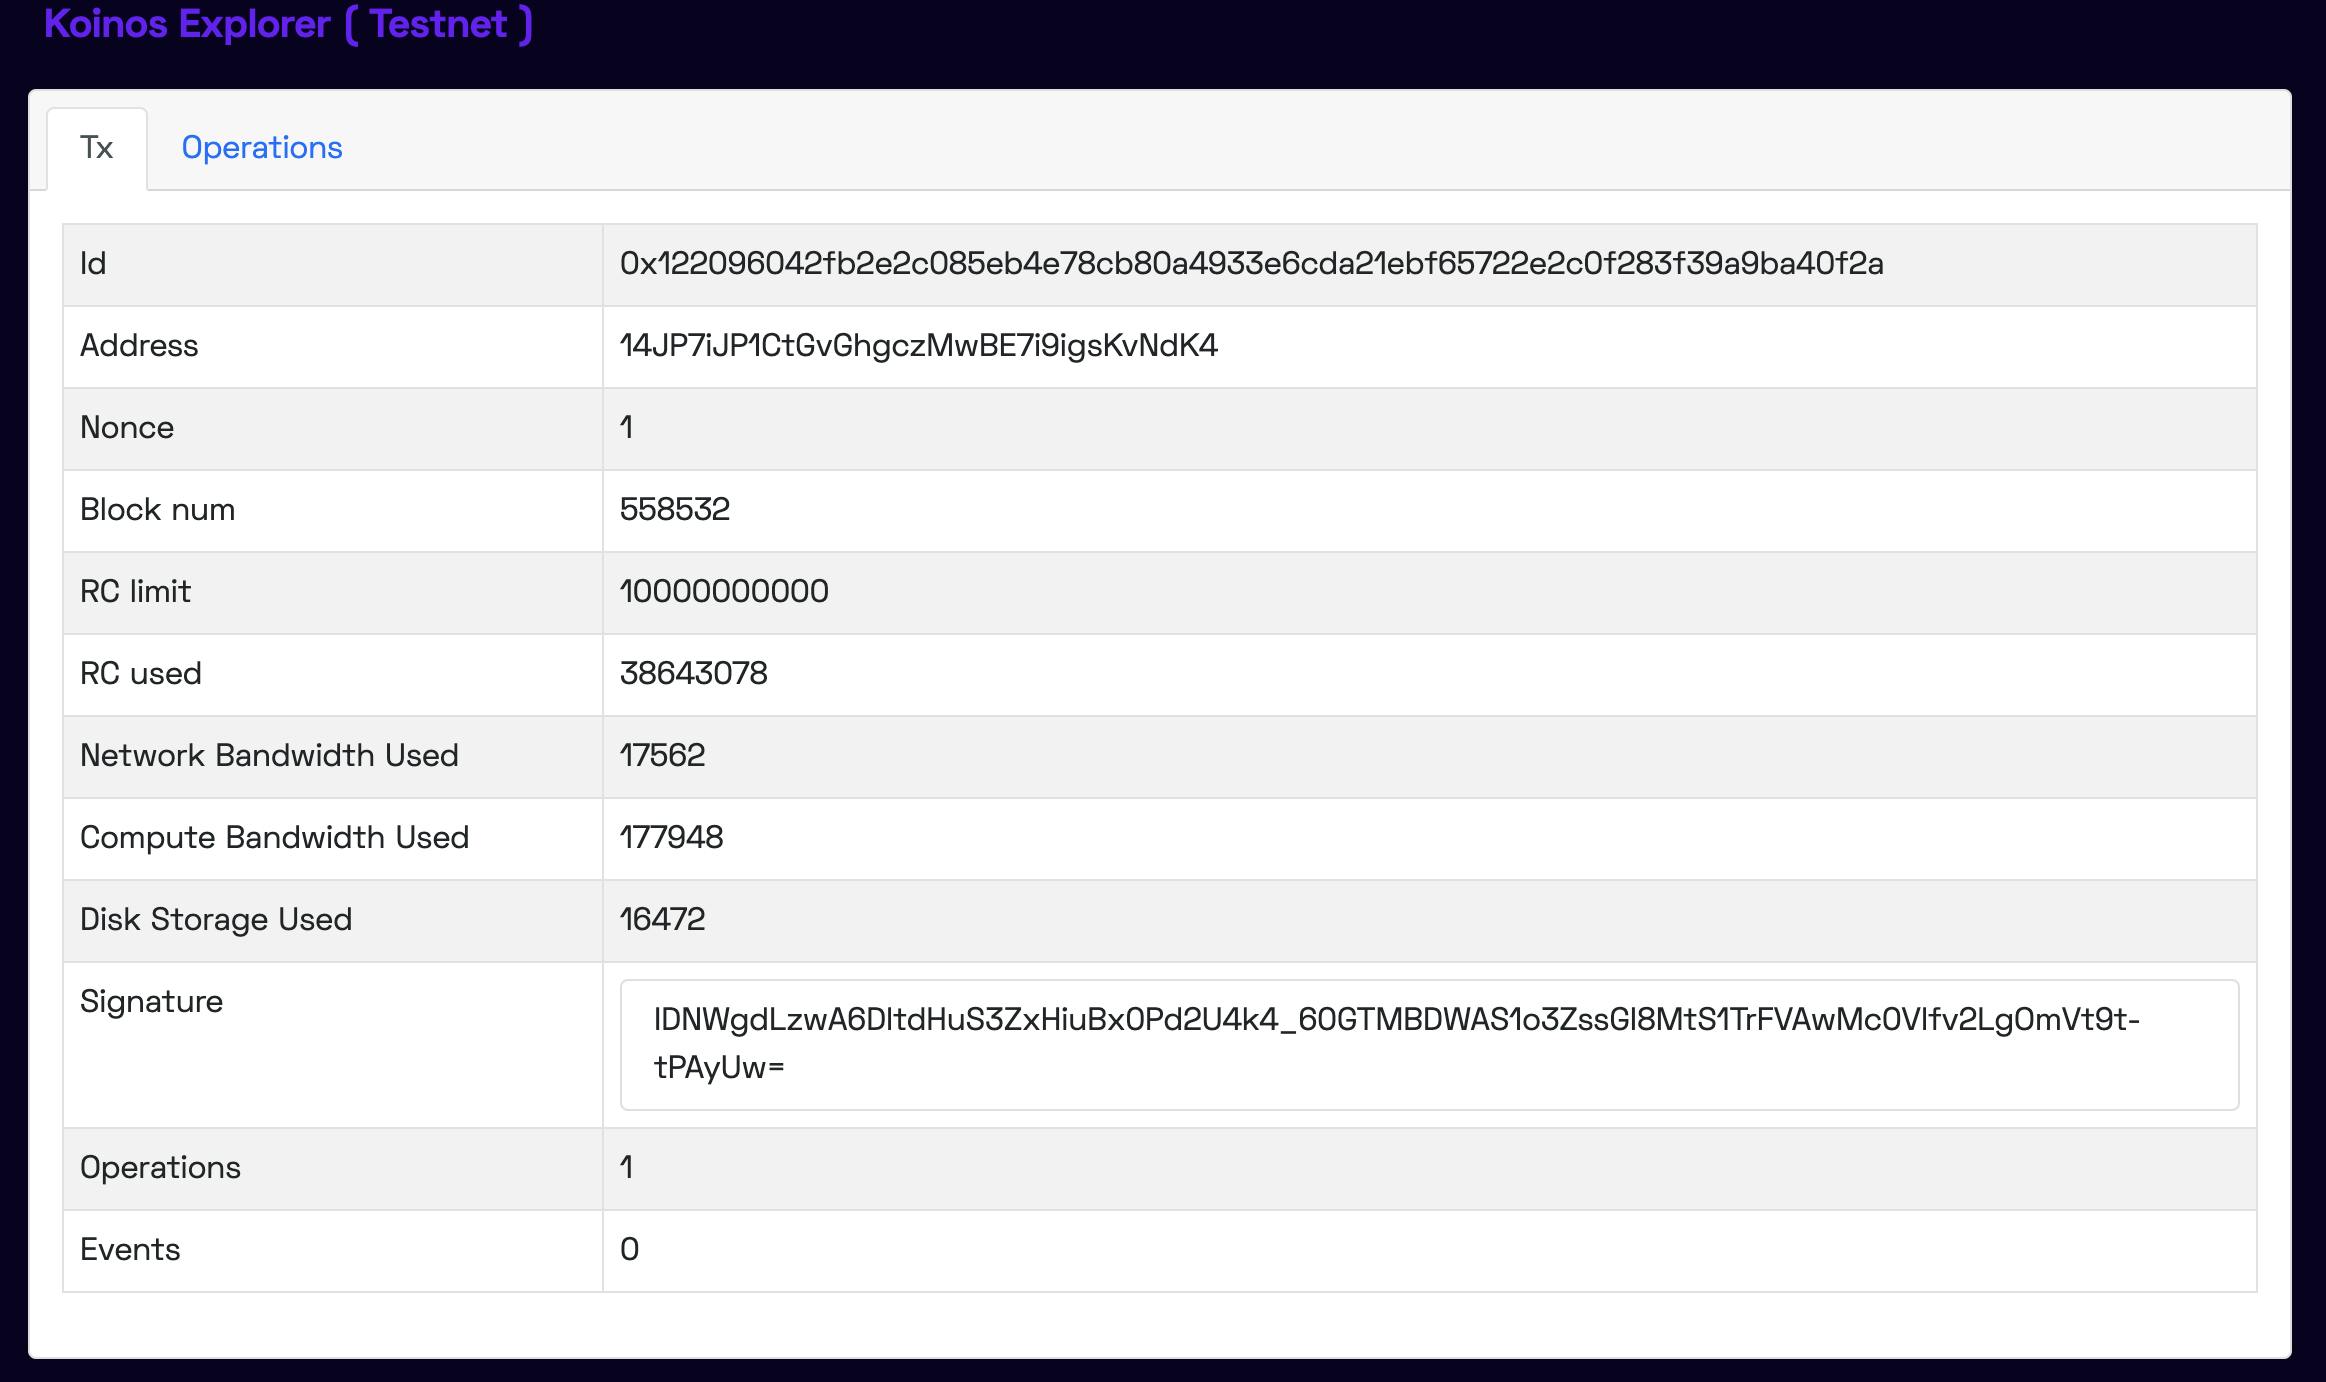
Let's now check our transaction on a blockchain explorer, we'll use "Koinos Explorer", created by @ederaleng_coc. Let's head over to: v3.koinosexplorer.com/tx/0x122096042fb2e2c0..
where 0x122096042fb2e2c085eb4e78cb80a4933e6cda21ebf65722e2c0f283f39a9ba40f2a is the transaction ID that was printed in our terminal. If you get a 500 Internal Server Error. this means that either you didn't type the transaction ID correctly, or the transaction hasn't been processed yet. Just reload until the transaction details show up. This is what shows up for my transaction:

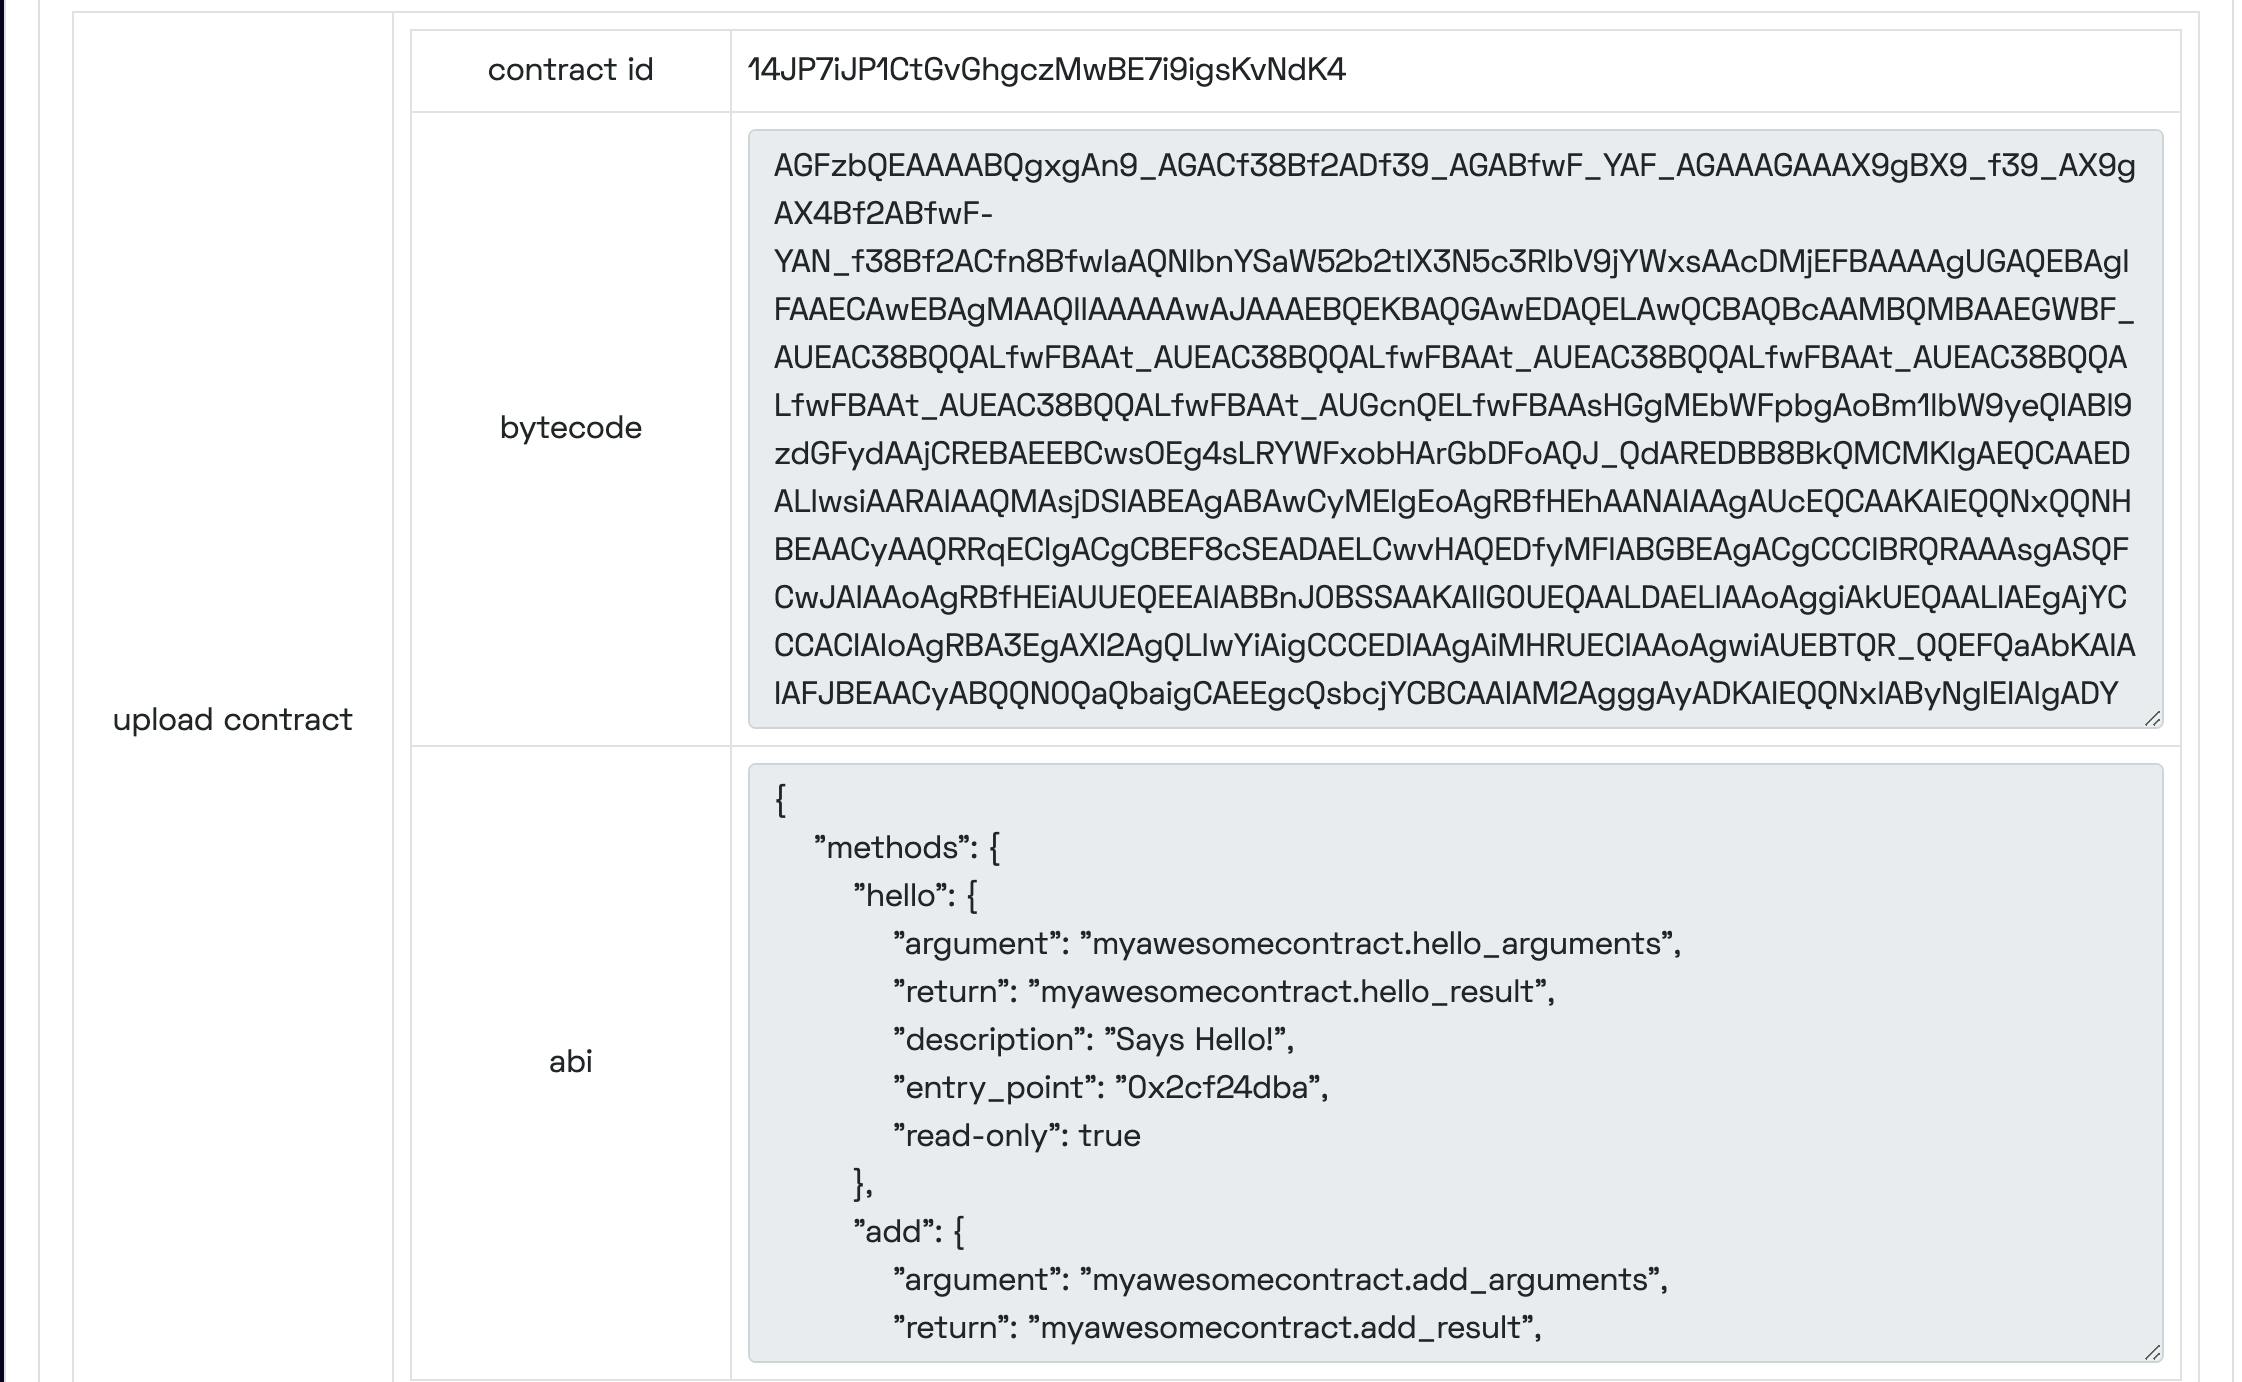
Let's click on the Operations tab:

On this tab you can see:
our
contract id, which in my case is14JP7iJP1CtGvGhgczMwBE7i9igsKvNdK4the
bytecodeof our smart contract (encoded in base64)the content of the
abifile that we uploaded
Interact with the smart contract
Now that our smart contract and our abi file have been successfully uploaded onto the Koinos blockchain (the testnet to be precise), let's start interacting with it!
In the Koinos CLI, type the following command to register your contract:
register mycontract 14JP7iJP1CtGvGhgczMwBE7i9igsKvNdK4
where:
registeris the command used to register the contract with the CLI. Register tells the CLI that you want to load the ABI file of a smart contractmycontractis the alias for the smart contract, that's what you'll type in the CLI to access the smart contract's functions that are available in the ABI file (this is an arbitrary name, it doesn't have to be the real name of the contract you're trying to register)14JP7iJP1CtGvGhgczMwBE7i9igsKvNdK4is the address of the smart contract you want to register
this should output something like this:
🔓 > register mycontract 14JP7iJP1CtGvGhgczMwBE7i9igsKvNdK4
Contract 'mycontract' at address 14JP7iJP1CtGvGhgczMwBE7i9igsKvNdK4 registered
Now, if you type mycontract in the CLI, you should see the functions available in the smart contract:

If you're using the smart contract that we built in the article "Create your first Koinos smart contract in minutes", you should see 2 functions, add and hello.
Let's try the add function. Type the following in the CLI:
mycontract.add 40 2
this will output:
🔓 > mycontract.add 40 2
value:42
Yes, 42!!!
Update a smart contract
By default, smart contracts are upgradeable on Koinos! To do so, it's super simple, just follow the same steps we used to upload the contract, which basically means, you just need to use the upload command and pass the path to the new WASM and ABI file as arguments.
Summary
Alright, so we just saw how to upload a smart contract to the Koinos blockchain, the first 2 steps only need to be done once. Once your wallet is set up with some tKoin on it, you can iterate your development super quickly by simply using the upload command of the CLI. As you can see, you can start creating and interacting with a smart contract in literally just minutes! You don't need to build any front end or you don't need to create additional scripts, the Koinos CLI is all you need! One last thing, as you saw, to upload our smart contract, we only had to use our Mana, which means that we didn't have to spend any money to upload it, FREE SMART CONTRACTS 🤯🤯🤯